












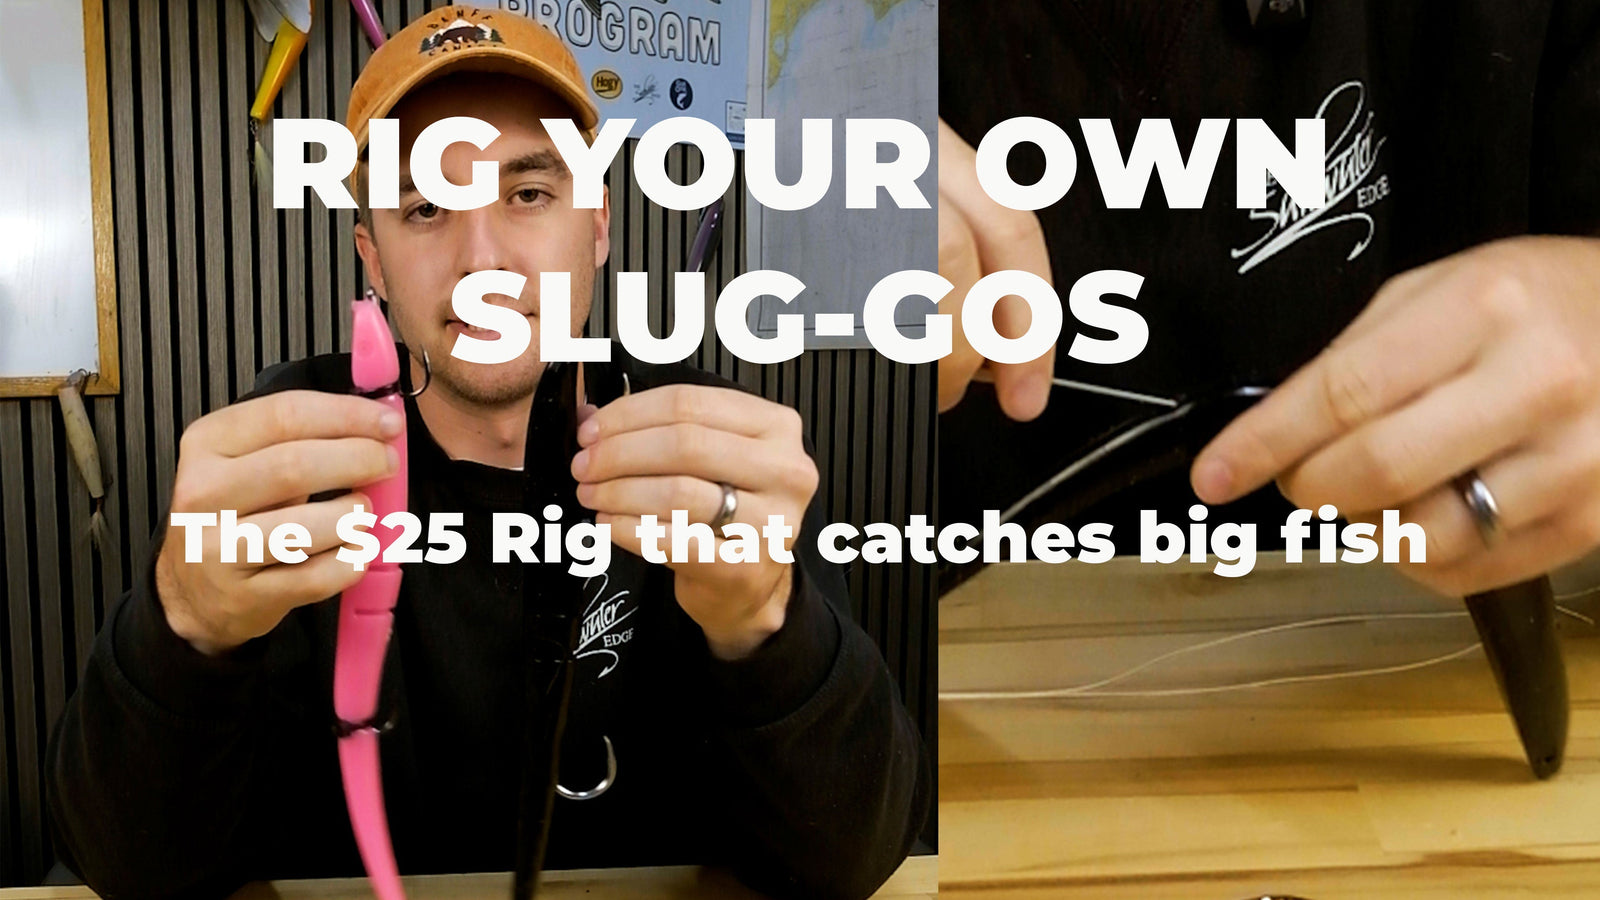

Prefer to watch? The full video walkthrough with Coby is on our YouTube channel
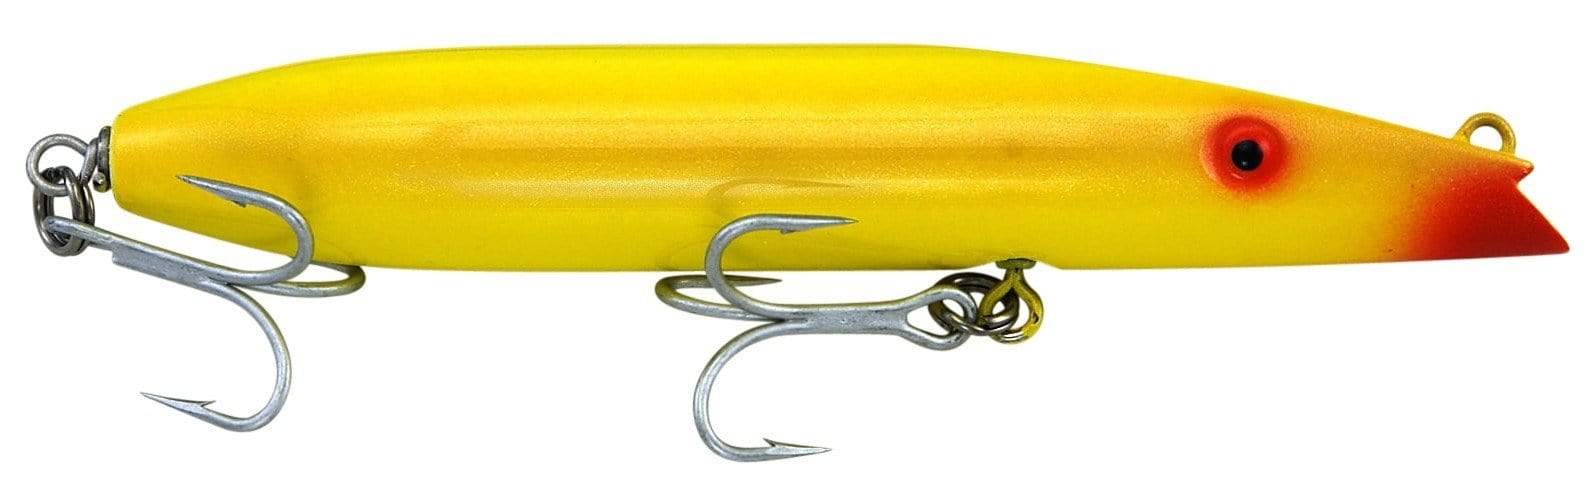
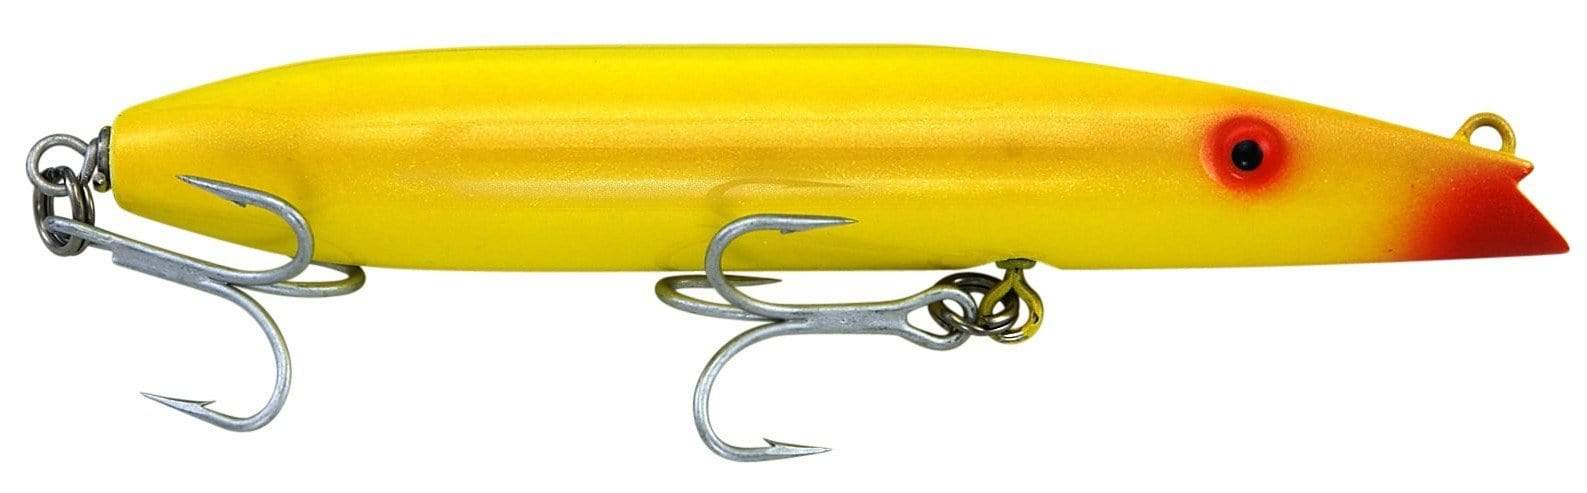
If you fish for big striped bass, you already know the problem: rigged Slug-Gos flat-out catch, and they're almost impossible to keep in stock. The pre-rigged baits sell out on the Lunker City site, they sell out on ours, and every fall run somebody is scrambling. The good news is that rigging your own is easier than it looks, the materials are cheap, and you end up with a better bait than the one you couldn't buy — because you get to upgrade the hooks.
This walkthrough builds on two great sources: Steve McKenna's original rigging video on our YouTube channel, and a pile of tips from Frank Gonzalez, who rigs a bunch of these himself.
Why rig your own?
Two reasons. First, availability — you simply can't count on finding pre-rigged Slug-Gos when you need them. Second, the hooks. The stock hooks on factory-rigged baits are fine in terms of strength; they don't break or bend out. But the hook gap — the distance between the hook point and the belly of the bait — is small, which costs you on the hookset. Swapping to a wider-gap hook noticeably improves your hookup ratio.
The easy button: our Rig Your Own Kit
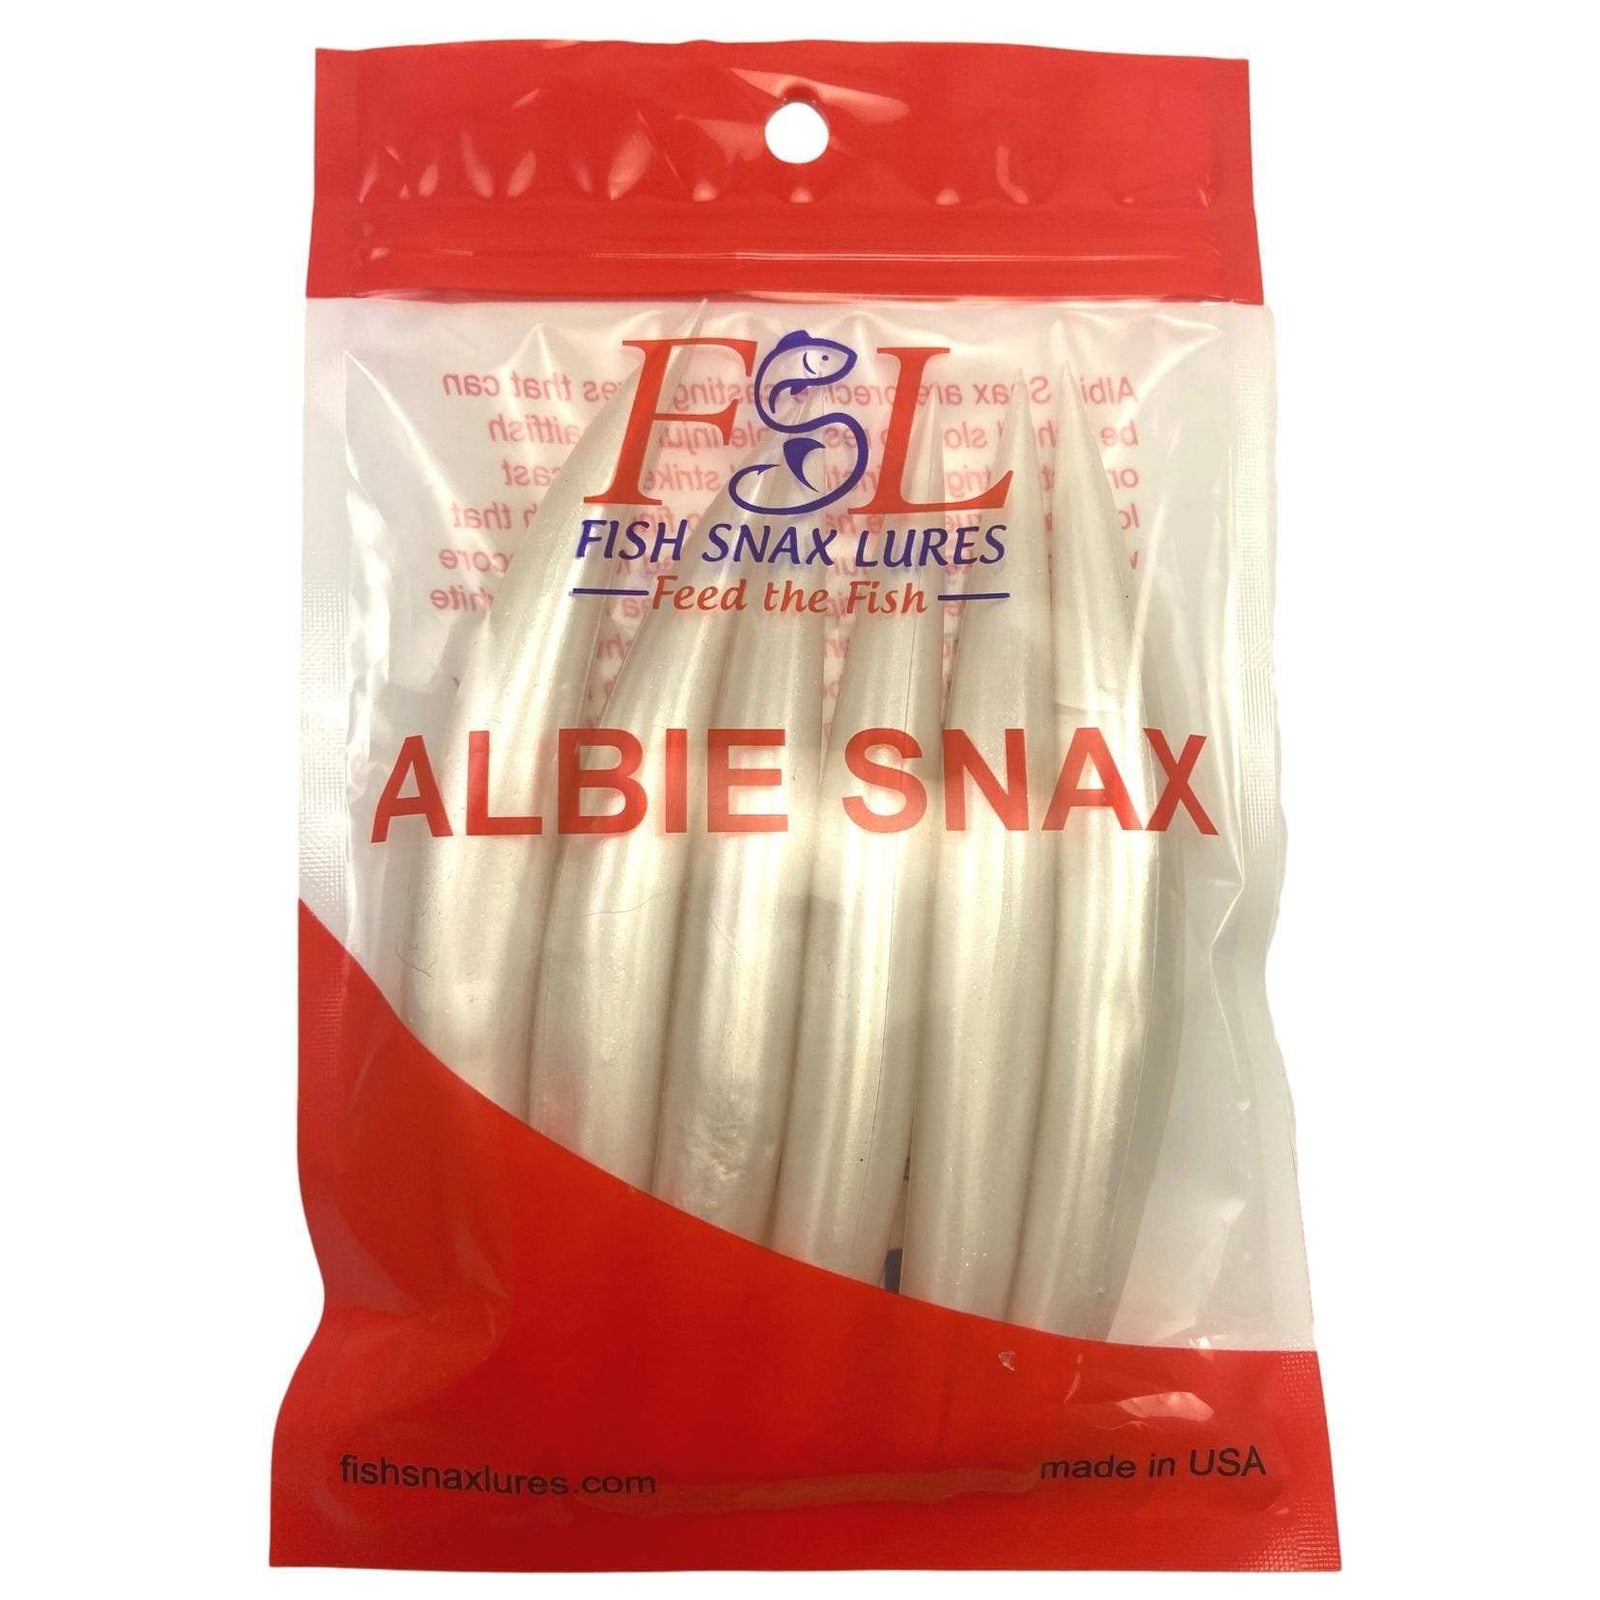
To make this as painless as possible, we put together a Rig Your Own 12" Slug-Go Kit ($24.99) with everything in one bag: a rigging needle, a two-pack of Slug-Gos, four of each hook style, and a length of hollow core line cut specifically for rigging both baits. No buying a whole spool of Dacron or a pack of ten needles for a two-bait project.
The hook setup
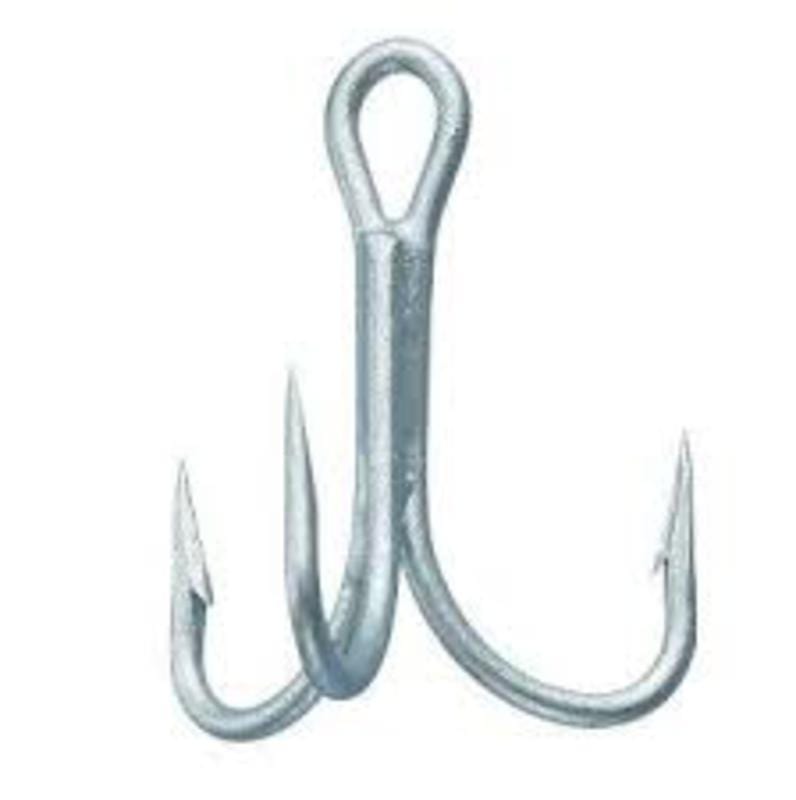
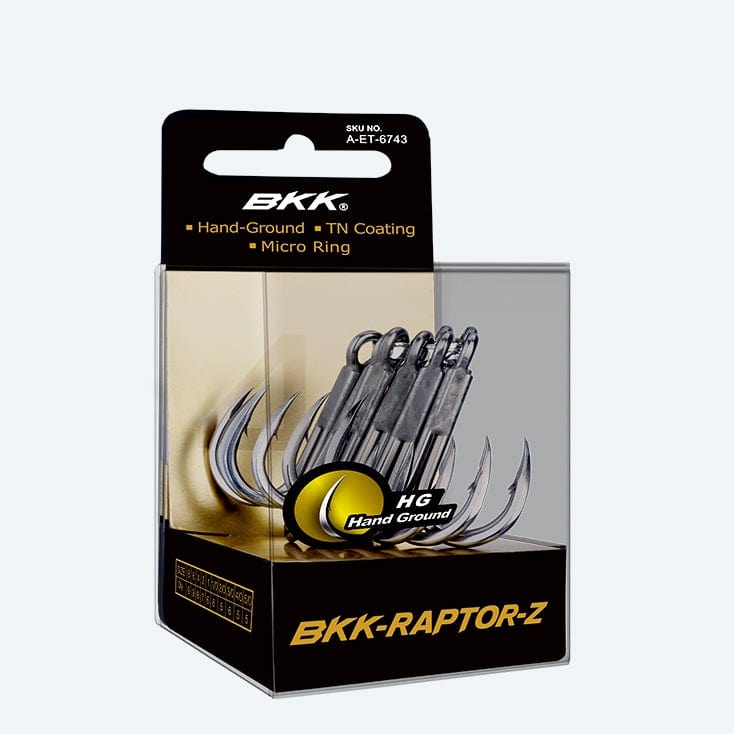
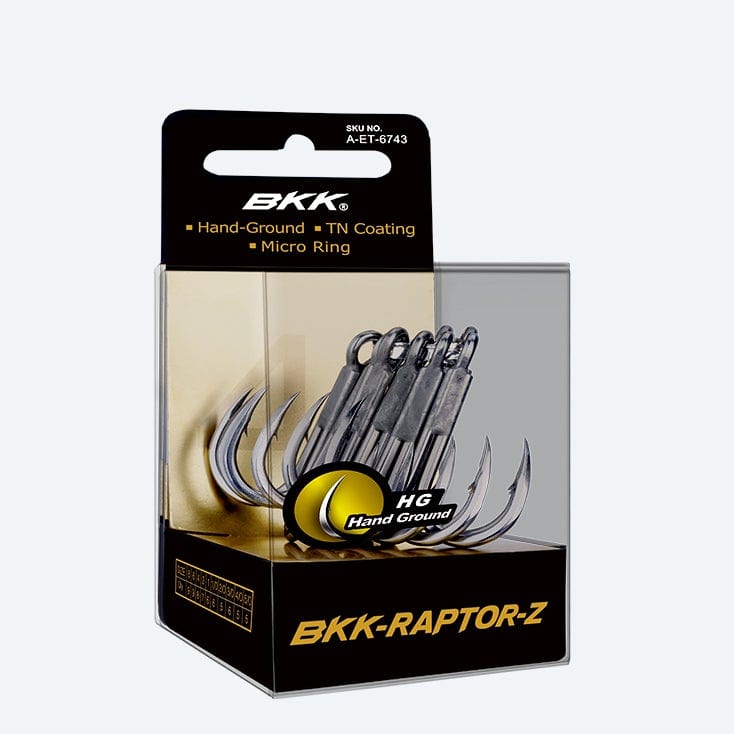
We use two BKK hooks, both beak-style:
- BKK Reefmaster NP, 9/0 — up front. The orientation of the eye sits nicely in the nose of the Slug-Go.
- BKK Lonediablo, 7/0 — in the tail. The Lonediablo's inline eye is the key here: with two Reefmasters, the eye orientation makes the tail section bulge, and it can eventually rip through the plastic. The inline eye hides in the bait and keeps the tail hook from tearing out.
Can you rig with two of the same hook? Absolutely — it's not the end of the world, and the bait will still fish. But if you're buying hooks anyway, the Reefmaster/Lonediablo combo is the better setup.
What you'll need
- Slug-Gos (unrigged, in your favorite colors)
- Your two hooks
- Dacron, hollow core, or heavy braid — 80 to 100 lb is plenty
- A long rigging needle (a ballyhoo-style needle works great)
- Vise grips
- Scissors and super glue
- Optional: zip ties or rigging floss for durability
Step-by-step
1. Make your loop
Tie an overhand knot in one end of your line so you have one big, long loop.
2. Attach the back hook
Push the loop through the eye of the tail hook and pass it around the hook — like a cat's paw or the way you'd loop on a plastic worm. That connection is plenty strong.
3. Line up your entry point
Before hooking the loop onto the needle, figure out where you're going in — roughly where the factory rigged baits exit (on a 9" bait, that's about at the "C" in the Lunker City logo). Enter there and keep the needle in the middle of the bait, not too deep, not too shallow.
4. Thread the needle through
Work the needle through the length of the bait, staying centered. This takes practice — you'll mess a few up, and they'll still fish fine. Tip: practice on a clear color like squid so you can see where your needle is.
5. Pull it through with vise grips
As more needle buries into the bait, the rubber binds up on it. Grab the tip of the needle at the nose with vise grips and pull while using your other hand to work the bait down the needle. Once the needle's out, hook the loop on and pull the line all the way through.
6. Seat the back hook
Pull the line until the tail hook works its way snug to the bait, keeping everything tight, then push the hook in and bury the eye in the plastic. Keep pulling until the hook sits at the angle you want — point up, tucked close.
7. Install the front hook
Line the front hook up against the bait to see where it should exit, pull the line up out of the way, go in right at the nose, and poke back out at your mark.
8. Tie it off and glue it
Cut the loop so you have two tag ends. Pass both ends through the eye of the front hook and tie an overhand knot to secure them, then stack a series of overhand knots — some with both strands, some with one strand on each side. Don't get carried away: you still need room to get your clip through the hook eye. Finish with a few drops of super glue on the knots. Once it cures, it's basically hard plastic — it's not going anywhere. Trim the tag ends and you're done.
Make it last longer
A zip tie snugged around the bait and hook shank adds durability if the hook starts to tear out. You can also use rigging floss like you would on a ballyhoo — pass it shallow through the belly on the hook-shank side and tie it off on top. And when a bait does get chewed up, nothing's wasted: glue it up, or cut it off and re-rig the same hooks on a fresh Slug-Go.
Grab what you need
- Rig Your Own 12" Slug-Go Kit — $24.99
- Lunker City Slug-Go (unrigged)
- BKK Reefmaster NP hooks
- BKK Lonediablo inline hooks
- Pre-rigged Slug-Gos (when they're in stock!)
Questions about rigging, hook sizes, or colors? Swing by the shop, give us a call, or drop a comment on the video — happy to help.



Dave Peros
July 23, 2026
As usual, a great job of producing a clear, easy to follow rigging video from SWE – and having Coby doing it makes it even better! I would add one answer to the question, “Why do it yourself?” And that’s bluefish. Just like in the days when the sharpies fished rigged eels, you would hear some interesting language when a chopper lopped off the tail section, either in front or behind the hook. The pre-rigged Sluggo’s are great for business when bluefish show up, but not so good for the angler who runs into them. Guys used to use brass toilet chain to deal with this when rigging eels, but if you think pulling Dacron or hollow core through an eel or Sluggo is tough, try using that stuff. If I were concerned about that, I would go with Rio’s knottable wire; it’s flexible so it doesn’t affect the action of the Sluggo and it really is easy to tie knots in it without the kinking that single strand or even braided wire does.