


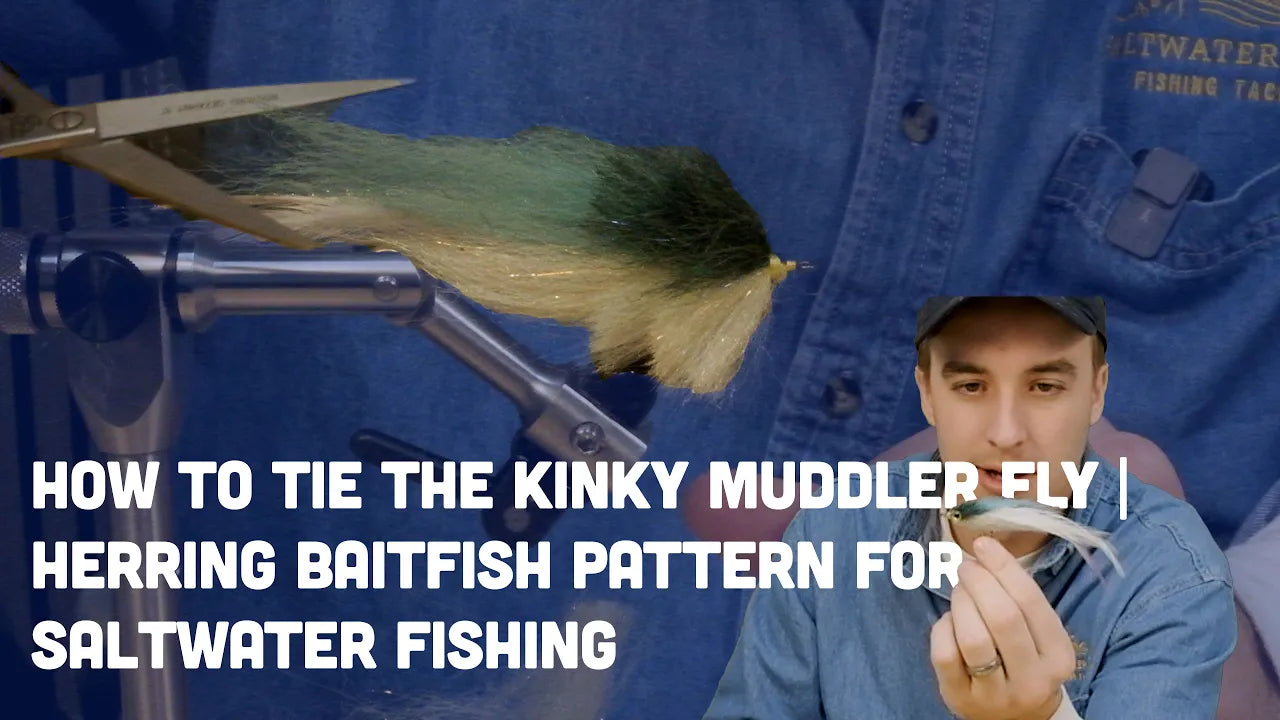

The Kinky Muddler, originally designed by Johnny King, is a versatile and effective baitfish pattern that can mimic a variety of prey species like herring, sardines, or peanut bunker. This guide will walk you through creating the herring version, but feel free to experiment with other colors and patterns.

Materials You’ll Need
Here’s a list of materials used in this tutorial:
- Hook: Mustad Heritage Tarpon Streamer Hook (2/0)
- Thread: Danville Monocord
- Bucktail: Light-colored bucktail (SWE Bucktail)
- Sculpting Fiber: Light blue, peacock (dark blue), and natural/white
- Saddle Hackle: Strung Chinese saddle hackle in white and pink
- Flash: Krystal flash (gray ghost color)
- Eyes: 3D Super Pearl (1/4 inch size)
- UV Resin: Medium viscosity
Step 1: Preparing the Hook and Thread Base
- Secure the hook in the vise and attach your thread, wrapping it just past the hook point.
- Establish a solid thread base to prevent materials from slipping.
Tip: The creator in the video ties left-handed, but the process is the same for right-handed tiers.

Step 2: Adding a Sparse Bucktail Base
- Take a small pinch of white bucktail and pull out the shorter fibers.
- Tie the bucktail on top of the hook shank, ensuring it stays in place with a few loose wraps before tightening.
- Trim any excess and secure with additional thread wraps.

Step 3: Attaching Saddle Hackles
- Select two white saddle hackles, leaving some fuzz at the base to prevent spinning.
- Position them as a “tent,” slanting toward each other, and secure on either side of the hook.
- Add one pink saddle feather over the top to mimic the pink hue found in herring.
Tip: If the feathers are twisted, don’t worry too much. The natural taper and trimming later will help.


Step 4: Adding Crystal Flash
- Tie in a few strands of crystal flash along the back for subtle shimmer.
- Secure them with thread and trim any excess.

Step 5: Building the Body with Sculpting Fiber
- Start with a long section of light blue sculpting fiber.
- Taper the ends by holding loosely and pulling at the tips.
- Fold the fiber in a “V” shape and tie it on top of the shank.
- Alternate with a natural/white fiber on the bottom of the shank, working forward in sections.
- Continue alternating layers of blue (top) and white (belly) as you progress down the hook shank.
Don’t worry if it looks messy. You’ll shape it during the trimming stage.


Step 6: Final Layer and Securing the Head
- For the final section, switch to a darker blue (peacock) sculpting fiber on top and white on the bottom.
- Ensure the materials are packed tight enough to avoid gaps when trimmed.
- End by building up a clean thread head near the hook eye.

Step 7: Trimming and Shaping the Fly
- Remove the fly from the vise if necessary to trim the sculpting fiber properly.
- Use long scissors to taper the body, starting at the back and working toward the head.
- Trim aggressively where needed but maintain a full baitfish profile.
- For fine details around the head, switch to smaller scissors or razor blades.


Step 8: Attaching the Eyes
- Place a small drop of UV resin on both sides of the head and position the eyes just behind the thread wraps.
- Press the eyes into place, ensuring they’re aligned symmetrically.
Tip: Misaligned eyes are a pet peeve for many fly tiers, so take your time here.

Step 9: Securing the Eyes and Head
- Cover the head and eyes with medium-viscosity UV resin, creating a smooth “helmet” shape.
- Cure the resin with a UV light until fully hardened.

Step 10: Final Touches
- Inspect the fly for any stray fibers and trim as needed.
- Revisit the shape to ensure it mimics the desired baitfish profile.
- Optionally, test it in the water to see how it moves, making adjustments if necessary.
Pro Tips for Customization
- Color Variations: Switch the bucktail and sculpting fiber colors to mimic other baitfish like sardines or peanut bunker.
- Squid Patterns: Lengthen the body and change to pink or cream colors for a squid imitation.
- Flash Adjustments: Add more or less flash depending on water clarity and baitfish behavior.
Conclusion
The Kinky Muddler is a fun and versatile pattern, perfect for creating baitfish imitations in various sizes and colors. Its darting motion and lifelike profile make it an excellent choice for saltwater species. Try it out and tweak it to fit your local fishing conditions.
Let us know your experience or share your custom patterns in the comments below!


Dejar un comentario